

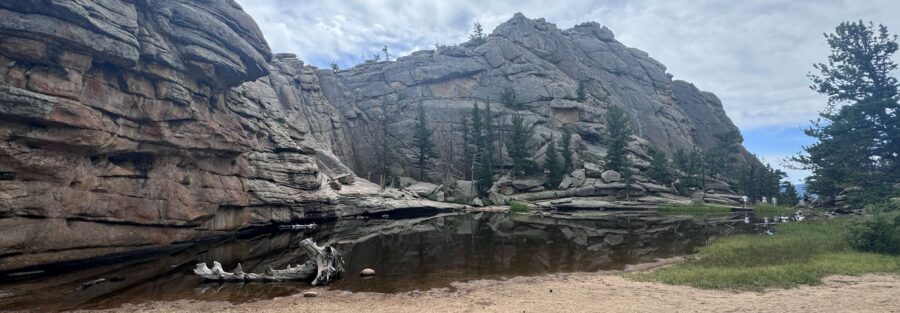
Most Rocky Mountain National Park visitors head straight to the Bear Lake corridor and the peaks above it. Gem Lake Trail is on the other side of Estes Park, off Lumpy Ridge on the north end of town, and it’s a different kind of hike entirely. Where the Bear Lake trails climb into granite cirques and alpine lakes under high peaks, Gem Lake moves through ponderosa pine and jumbled granite domes, opening to big views of the Estes Park valley, the surrounding mountain wall, and eventually a small lake sitting in a shallow rock bowl at the top of the ridge. It’s 3.2 miles roundtrip with 987 feet of gain, which puts it in range for hikers who want something substantial without committing to a full-day effort. This guide covers the Gem Lake Trail from the Lumpy Ridge Trailhead: what the Lumpy Ridge terrain actually looks like, and how to plan the day.
Quick Facts
| Trail Name | Gem Lake Trail (Lumpy Ridge) |
| Location | Rocky Mountain National Park, near Estes Park, Colorado |
| Coordinates | 40.3966° N, 105.5132° W |
| Distance | 3.2 miles roundtrip |
| Elevation Gain | 987 feet |
| Difficulty | Moderate |
| Time | 2–3 hours |
| Dogs Allowed | No (pets not permitted on park trails) |
| Fee | $35 per vehicle; free with America the Beautiful Pass |
| AllTrails | View on AllTrails |
How to Get There
The Lumpy Ridge Trailhead is about 3 miles from downtown Estes Park, making it one of the more convenient trailheads in the area. From Estes Park, take US-34 (Wonderview Avenue) west, then turn right onto MacGregor Avenue and follow the signs for MacGregor Ranch and Lumpy Ridge. Lumpy Ridge Road leads to the trailhead at its end. The drive from downtown Estes Park takes under 10 minutes. This is the north side of Estes Park, separate from the Bear Lake Road corridor. If you’re staying in town, this trailhead is walkable or bikeable for anyone in good shape. No park scenic drive required. From Denver, plan about 1.5 hours to Estes Park: I-25 north and US-36 west through Lyons. From Salt Lake City, about 7 hours via I-80 east and I-25 north. The park’s standard entry fee and timed entry requirements may apply. Check nps.gov/romo for current reservation requirements, as Rocky Mountain National Park’s timed entry system applies to various entry points and corridors during peak season.
Parking Information
The Lumpy Ridge Trailhead has a dedicated parking lot that’s smaller than the Bear Lake lots but serves a less-trafficked trail system. It fills on summer mornings and weekend mornings during peak season. Arrive before 8 a.m. on peak days to secure a spot. The Gem Lake Trail also shares this trailhead with other Lumpy Ridge routes, including Twin Owls and the Black Canyon Trail. Restrooms are available at the trailhead. The lot is free, included with park entry. There’s no shuttle service to this trailhead, so driving is the primary access option. 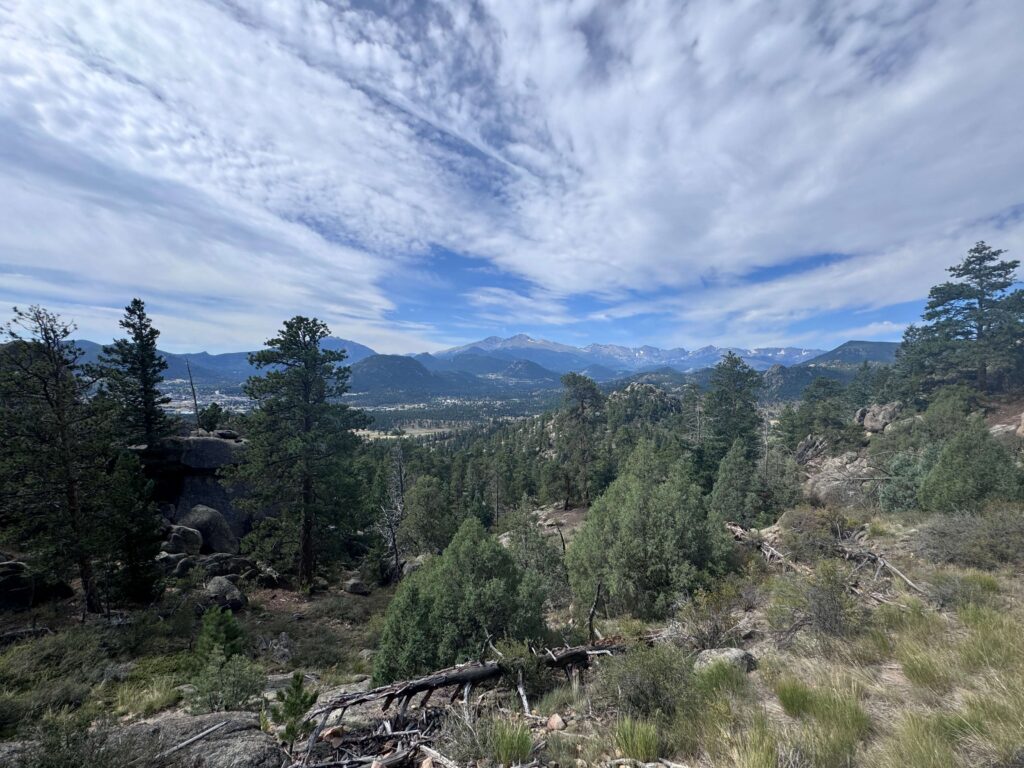
Cell Service and Navigation
Cell coverage near the Lumpy Ridge Trailhead is generally reasonable given the proximity to Estes Park. Signal will decrease as you gain elevation on the trail. Download AllTrails offline before heading out as a standard practice. The Gem Lake Trail is well-signed from the Lumpy Ridge Trailhead. Navigation is straightforward on this route. The main thing to watch for is the junction with the Twin Owls Trail early on, which is clearly signed. Stay on the Gem Lake Trail direction at that junction.
What to Expect on the Gem Lake Trail
The Lumpy Ridge area is visually distinct from the high peaks and cirque lakes of the Bear Lake corridor. The granite here is dome-shaped and rounded, worn by glaciation and weathering into smooth curves and scattered boulders rather than the jagged ar êtes of the high country. The effect is a landscape that looks like something between a classic mountain range and an abstract sculpture garden. The formations have names: Paul Bunyan’s Boot, Troll Teeth, Twin Owls. They earn their names. The lower trail climbs through ponderosa pine and aspen with the granite domes visible above the treeline on both sides. The vegetation is different from the Bear Lake corridor, drier and more open in places, with the sound of wind in pines rather than rushing water. It’s a quieter trail sound. As the trail gains elevation, the views of Estes Park open behind you to the east and south. The town, the Stanley Hotel, the lakes in the valley below, and the mountain front to the south all become visible as the trail rises above the treeline. These views are not available from the Bear Lake corridor at all, they’re an Estes Park perspective unique to this side of the ridge. The final approach to Gem Lake involves stone steps built into the hillside and a steep section that earns most of the elevation gain at the top of the trail. It’s direct and brief. At the top, the lake appears in a shallow rock bowl, clear and small, with the granite walls of the bowl framing it tightly. The scale is intimate rather than dramatic, which is part of what makes it different from the larger alpine lakes on the other side of the park. Gem Lake sits in a natural granite bowl at roughly 8,830 feet with boulders and cliff walls forming the perimeter. The water level varies seasonally and some years it’s lower than others. The lake is shallow and the bottom is visible through the clear water when there’s no wind. The rock bowl around the lake is flat and accessible in multiple spots, making this a good picnic and photography location. For photography, the lake reflects the surrounding walls when there’s no wind, and the framing opportunities are interesting specifically because the scale is small and the walls are close. Wide-angle lenses work well here. The best light is in morning before the bowl walls shade the water. 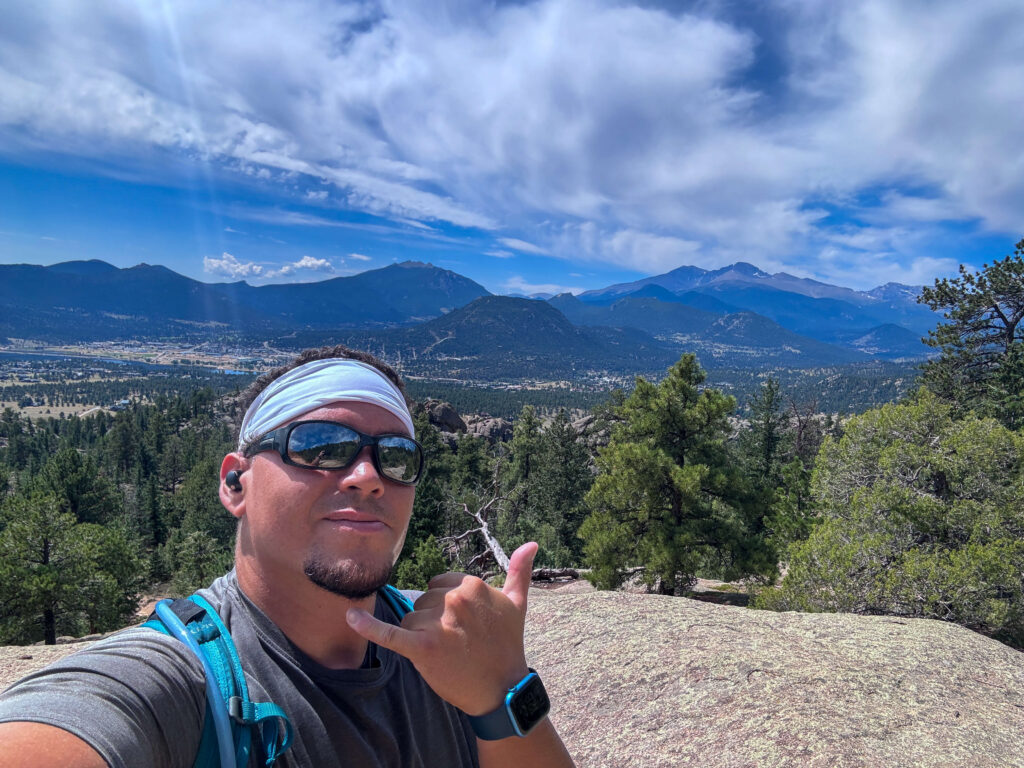
Trail Difficulty and Length
Gem Lake Trail is 3.2 miles roundtrip with 987 feet of gain. Moderate is accurate for the overall route, with the steepest section concentrated in the final push to the lake. The stone-step approach at the top requires some careful footing but is not technically demanding. Budget 2-3 hours for the roundtrip at a comfortable pace with time at the lake. This is one of the shorter and more manageable hikes accessible from Estes Park proper, making it a strong option for a half-day or for families with older kids who want a genuine hiking experience without the Bear Lake corridor’s crowds and longer distances.
Dog Friendly?
No. Rocky Mountain National Park prohibits dogs on all trails including Gem Lake. Dogs are permitted in parking areas and along paved roads within the park, but must stay off all unpaved trail surfaces. For dog-friendly hiking near Estes Park, the Roosevelt National Forest outside park boundaries has options with leashed dogs permitted. 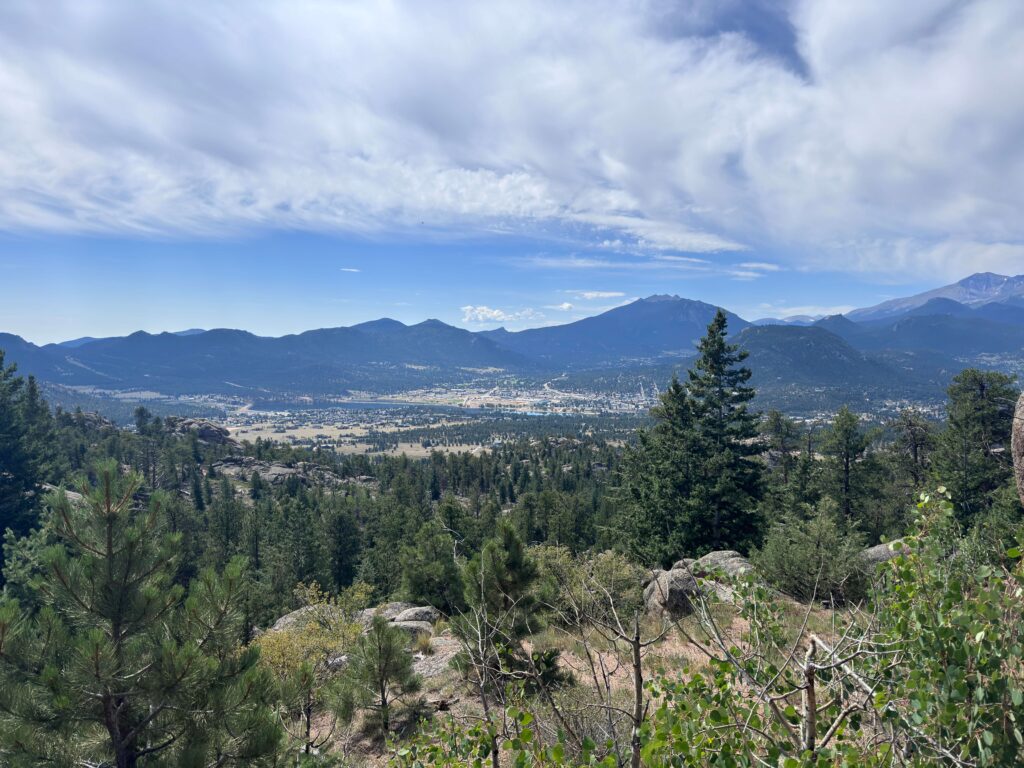
What to Bring
Water: 1.5-2 liters per person. The trail is short but the ponderosa pine sections get warm by mid-morning in summer and the granite at the lake absorbs heat. Bring more than you think you need for a hike this short. Layers for the summit section where wind off the ridge can be cold in morning. Sun protection for the open sections above treeline. Comfortable trail shoes or hiking boots for the stone-step approach. This isn’t a trail that demands technical footwear, but grip on the steep rock approach is useful. For photography: wide-angle for the lake bowl framing, mid-range for the granite formation detail on the ridge and the Estes Park panorama behind you. The morning light in the bowl is the priority window.
Best Time to Hike Gem Lake Trail
Late May through October is the reliable window. The Lumpy Ridge trailhead sits at a lower elevation than the Bear Lake corridor (around 7,840 feet at the trailhead vs. 9,400 feet at Bear Lake), which means the trail clears of snow earlier in spring and stays accessible later in fall. This makes Gem Lake a strong option for shoulder season hiking when Bear Lake routes are still snowy. Summer hiking on Lumpy Ridge is warm on the south-facing sections below the ridge. Start by 7-8 a.m. in summer to hike the steeper sections before the heat builds. Afternoon thunderstorms can develop over the park, but the Gem Lake Trail is at a lower elevation and shorter duration than the high-country routes, so timing is more forgiving. Fall is excellent for this trail. The aspen groves on the approach turn in late September, the crowds are thinner than summer, and the views of Estes Park from the ridge have the warmth of fall light. This is one of the better fall color hikes accessible from Estes Park without going deep into the park. For photography: morning is best for the lake bowl. The views of Estes Park behind you on the climb look best in late afternoon when the mountain front to the west catches the sun and the valley below has warm light.
Rules and Regulations
Stay on designated trails. The Lumpy Ridge area has fragile vegetation around the granite formations and the lake. No pets on trail. Pack out all trash. Leave No Trace principles apply. Timed entry reservations may apply depending on the entry corridor and season. Check nps.gov/romo for current requirements before your visit. The Lumpy Ridge Trailhead is accessed from Estes Park rather than through the main park entrance, which affects how entry and reservation requirements apply. Confirm the current situation before your trip. No drones without a special use permit. The park fee is $35 per vehicle or free with an America the Beautiful Pass.
Where to Stay Near Estes Park
The Lumpy Ridge Trailhead is 3 miles from downtown Estes Park, so any Estes Park lodging works as a base. The Stanley Hotel is the historic property in town.
Camping Nearby
Moraine Park and Glacier Basin Campgrounds are the main options inside the park, both on the south side of the park near the Bear Lake corridor and both reservation-based through recreation.gov. They’re further from the Lumpy Ridge Trailhead than the Bear Lake trails, but serve the full park for multi-day stays. The Estes Park area has several private campgrounds in and near town that are closer to the Lumpy Ridge Trailhead. These offer hookups and facilities if developed camping is preferred.
Nearby Adventures
The Twin Owls hike is accessible from the same Lumpy Ridge Trailhead and takes you to a distinctive granite formation visible from the parking area. It’s typically done as an out-and-back to the base of the Twin Owls formation and is a shorter alternative if Gem Lake doesn’t appeal or for a second hike from the same lot. On the Bear Lake side of the park, the Four Lake Loop Trail visits Nymph, Dream, Emerald, and Lake Haiyaha in 7.2 miles, and the Sky Pond via Glacier Gorge Trail is the park’s best hard hike at 8.6 miles. Both are worth separate days from Estes Park. Trail Ridge Road is the park’s most accessible non-hiking experience, crossing alpine tundra at over 12,000 feet on the highest continuous paved road in the US. Worth an afternoon drive from Estes Park on any trip to the area. Estes Park itself has elk visible in town at dawn and dusk, the Fall River Riverwalk for a flat walk through town, and the Stanley Hotel for history and atmosphere. MacGregor Ranch adjacent to the Lumpy Ridge Trailhead is a historic working ranch that has operated since the 1870s.
Plan This Hike
AllTrails has Gem Lake Trail mapped with offline capability and condition reports. Download before leaving town since signal drops as you gain elevation. Plan your hike on AllTrails and pull the offline map while you’ve still got signal in Estes Park.
Chase the Quiet
Lumpy Ridge is the version of Rocky Mountain National Park that most visitors don’t find because they’re all headed to Bear Lake. The trail is shorter, the lake is smaller, and the scenery is different enough that it doesn’t feel like the park you expected. That’s the version I came back from preferring on days when I wanted the mountain experience without the machinery of a heavily trafficked national park corridor. Gem Lake in the morning with Estes Park visible below and the granite domes of Lumpy Ridge above is a specific and particular kind of beautiful. It earns the detour.
Support the Adventure
To make your walls less boring, check out my photography portfolio and bring a piece of the wild and my story into your home. If you’d like to fuel future adventures, you can donate a coffee on Ko-Fi. Every cup keeps me chasing sunrises and stories. When you shop using my affiliate links, every click helps support this blog at no extra cost to you. It’s a small way to keep Unicorn Adventure alive and kicking while I keep exploring. Subscribe to my mailing list for future updates, new stories, and behind-the-scenes adventures. Stay connected with me on Instagram and Facebook for more photos and daily inspiration. Thanks for being part of the journey, Unicorn Squadron!
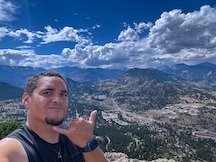
Theo Maynard is a landscape photographer and adventure blogger based in Salt Lake City. He chases remote desert and mountain light across the American West, documents it all solo, and shares the journey through Unicorn Adventure. He’s on the autism spectrum, and that’s not a footnote, it’s the whole story. He creates to inspire others to get outside, chase what lights them up, and live their best possible life. Unapologetically himself.